Create an XML Sitemap From Scratch
Execution Time: 30 minutes to 4 hours
Goal: To create an XML sitemap for the first time, or to audit your existing XML sitemap.
Ideal Outcome: Your XML sitemap has been properly fetched by Google, contains your core URLs and is properly configured making it perfectly crawlable by Google and other search engines.
Pre-requisites or requirements: You need to have access to your website’s Google Search Console property. If you are using WordPress on your website you will need to have the Yoast SEO Plugin installed and activated on your website.
Why this is important: Creating an XML sitemap allows search engine crawlers to more easily find the content you want them to find, and to understand how important each page is.
If you're new to SEO and XML sitemaps are unfamiliar, make sure to use one of these SEO checklists for WordPress, Squarespace, Shopify, and Drupal, depending on your preferred content management system (CMS).
Where this is done: In Google Spreadsheets, your WordPress Admin Panel, and Google Search Console.
When this is done: You should generate an XML sitemap from the first moment you launch your site. If your sitemap is manually generated the ideal scenario would be updating your sitemap every time there is a new page that should be indexed.
Who does this: The person responsible for SEO or website management. XML sitemaps are a critical part of any SEO strategy. If you're looking for more downloadable templates for digital marketing, try some of these SEO templates, this YouTube description template for new YouTube channels or this digital marketing audit template for a more comprehensive analysis of your Internet marketing strategy.
Design Your XML Sitemap Architecture
Gather a list of all the URLs of your website. If you have already created an XML sitemap and are simply auditing it, you can use that one.
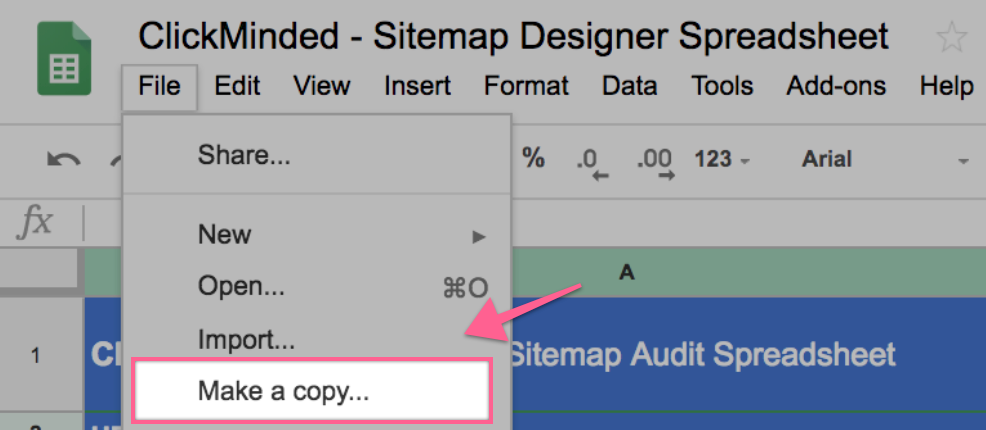
Open the ClickMinded Sitemap Designer Spreadsheet → Click File → Make a copy…
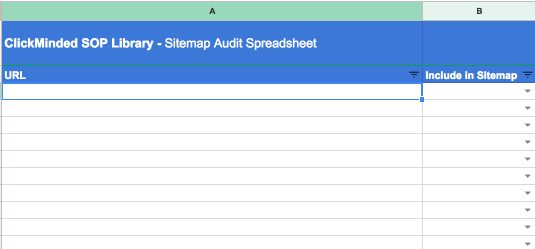
Paste your URLs in the Spreadsheet:
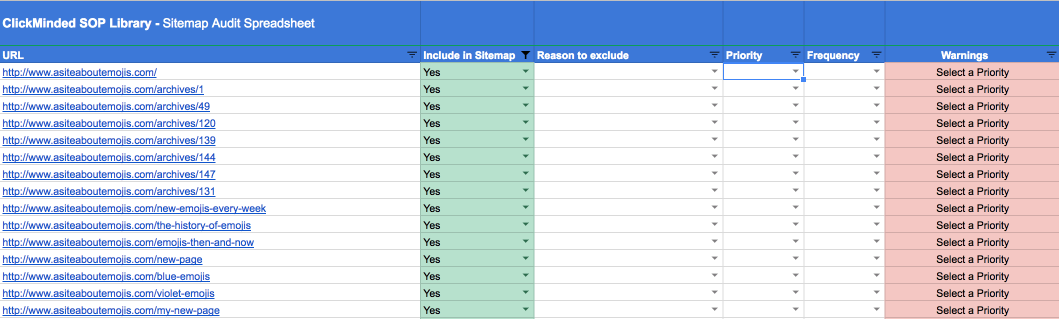
For each URL, select if you would want to include it in the sitemap or not. If you choose not to include it you should select a reason why not. If you have a lot of URLs remember you can use the filters in Google Spreadsheets to speed up the process sometimes.

Mark it as “Yes” as long as it fits these guidelines:
- The URL is not blocked by the robots.txt file.
- There are not multiple URLs pointing towards duplicate content.
- The URL is not pointing towards sensitive information.
- The URL is not an irrelevant system generated page or file.
- As a general rule of thumb, any URL that should not be indexed or that is not relevant for your users or to search engines should not be on the sitemap.
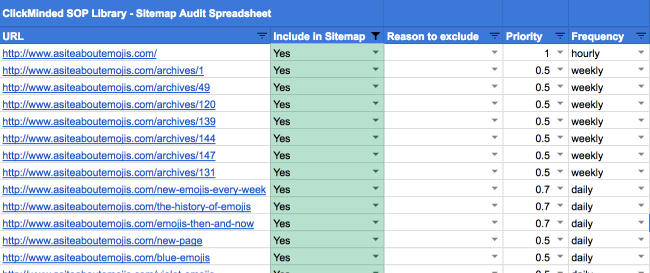
For each URL, that you’ve selected to include in your sitemap assign it a “Priority” and a “Frequency”:
Priority: A value from 0.1 - 1. It is relative to your other website pages:
- 0.1 - Means low priority.
- 1 - Means the highest priority.
To define priorities take a look at your URLs and decide which ones are more important for search engines and for your users. The default value is 0.5.
Note: Do not spend a lot of time on this process. If you are unsure you can also set all priorities to 0.5. If you have pages that clearly are higher in importance (e.g: “Homepage”, “Category page”, etc) you can assign the same high value to all of them. There is no gain in setting all priorities to 1. All it will do is signal that all pages are equal in importance.
Frequency: Select the frequency you’d like spiders to crawl your URL.
- Always: Only select this option if your URL changes each time it is accessed. (example: it displays the bitcoin value and is updated every second)
- Never: Only select this option if your URL content is archived and will never be updated again. Typically you should not select this option.
- Hourly, daily, weekly, monthly, yearly: If your content is updated within one of these intervals select the one that applies.
Generating your sitemap
Generating your sitemap will differ, depending on whether or not you are using WordPress.
Note: If you are using a popular CMS like Drupal or Joomla, you will either have the functionality built-in (Drupal) or an extension available to generate the sitemap (Joomla). This SOP covers the specific process for WordPress, or custom sites, only.
If you have a custom site (or you don't have a CMS):
Open the sitemap spreadsheet that you’ve created. Filter all the URLs that you have selected that you want to appear on your sitemap:
Open Google Chrome and head over to https://timestampgenerator.com/xml-sitemap-from-list
Start copying and pasting the URLs from your spreadsheet into the text box of the XML Sitemap generator, according to the “Priorities” and “Frequencies” that are on your Sitemap Design. Click “Add to Queue” until you’ve added all your URLs according to their Priorities and Frequencies.
 Step 1: Copying groups of URLs from your spreadsheet.
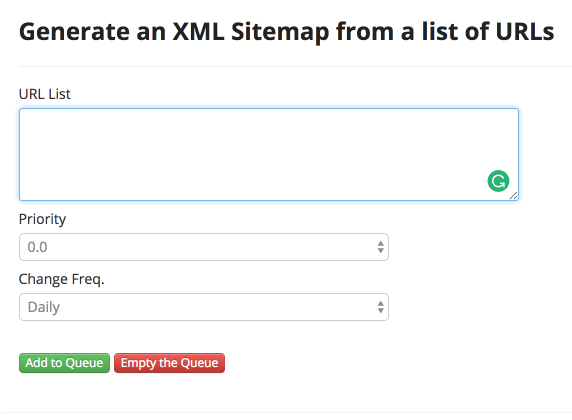
Step 2: Add your URL group to the queue.
When all your URLs have been added to the queue, scroll down and click “Create Sitemap”:
Your browser will start downloading your XML sitemap. The file will be named “sitemap.xml” if that is not the case, make sure you rename it to “sitemap.xml”.
You will now need to upload that XML file to the root of your domain.
Example:
http://www.yourdomain.com/sitemap.xml
You should also add this line to your “Robots.txt” file:
Example:
Sitemap: http://www.yourdomain.com/sitemap.xml
Note: If you aren't able to upload files to your server yourself, email your develop or IT person. Here is an email template you can use:
“Hi,
I’ve created an XML sitemap so search engines can find all of our pages, which can help increase organic traffic to the site.
You can find the file attached to this email. I need it to be placed in the root of the domain and it should be named “sitemap.xml”.
The “robots.txt” file located at the root of the domain should also be edited and this line should be added to the end of it (no quotation marks):
“Sitemap: http://www.yourdomain.com/sitemap.xml”
Thank you.“
That’s it! If all went well you now have your sitemap ready to be submitted.
Remember: You should repeat this process frequently whenever you add more URLs to your website. If you add a lot of URLs constantly you might want to ask your developer to create a solution that updates the sitemap automatically.
If you are using WordPress:
Install Yoast SEO Plugin.
On your WordPress Admin Panel’s sidebar:
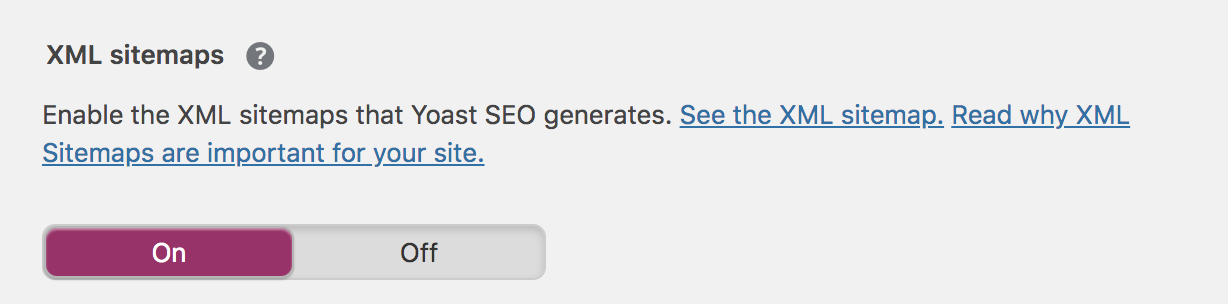
Hover over “SEO” → Click “General” → Click “Features” → Switch XML Sitemaps to "ON" (if it's not already) → Click the "?" Question Mark → Click "See the XML Sitemap".
If you want to make changes to which posts, pages and media content are listed in the XML sitemap:
Hover over “SEO” → Click “Search Appearance”
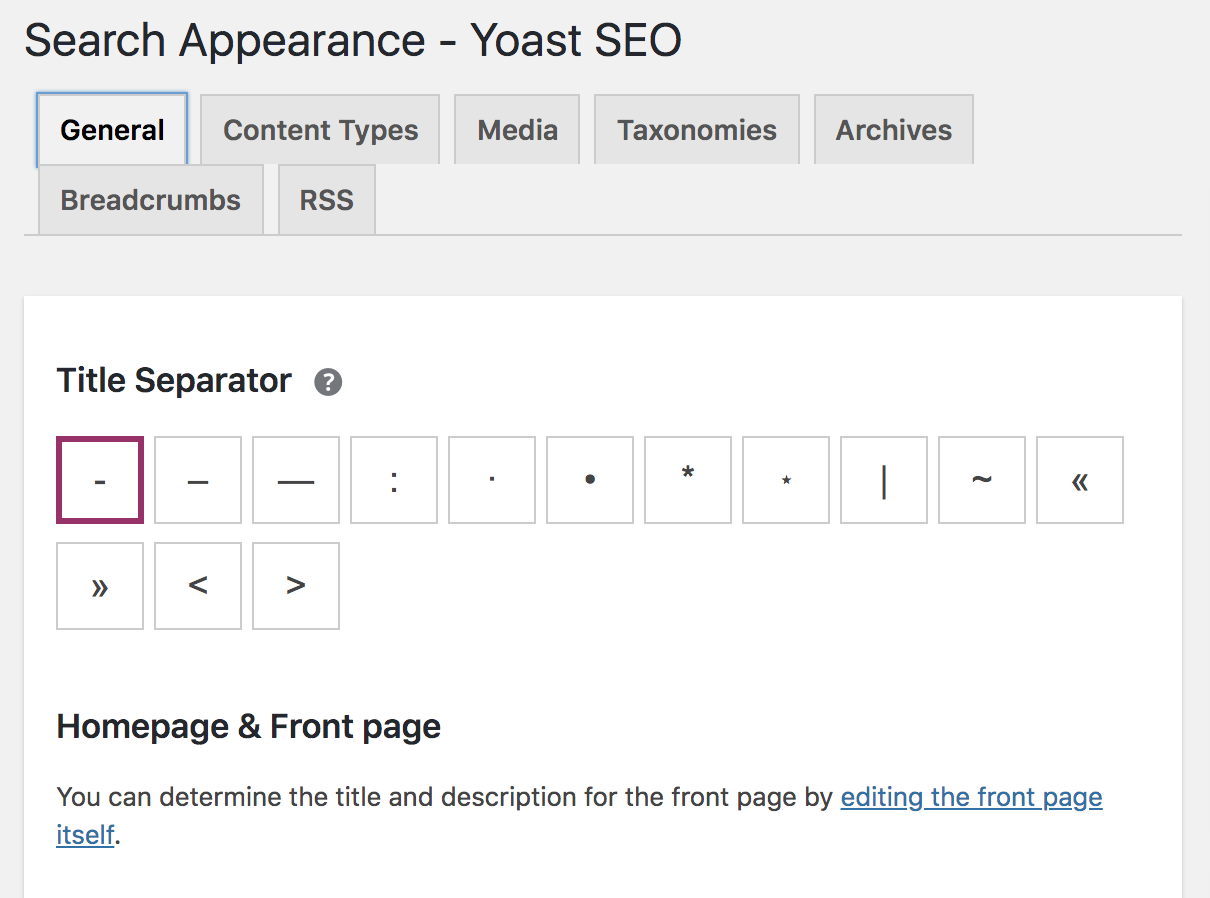
Scroll through the "Content Types", "Media", "Taxonomies" and "Archives" tabs. If you want that type of content indexed in search engines and listed in the XML sitemap, make sure it's set to "YES". Otherwise, set it to "NO".
- Posts: Keep in your sitemap unless you have determined you don’t want your blog posts on your sitemap.
- Pages: Keep in your sitemap unless you have determined you don’t want your blog posts on your sitemap.
- Media (attachment): Typically you will not want to have it in your sitemap. This does not mean search engines will not index your media. This refers to separate pages that WordPress generates every time new Media is uploaded.
- Click “Taxonomies”: If you are using the “category” and “tag” features of WordPress on your pages and posts leave those options as default. If you are not using them, disable them.
Click “Save changes” at the bottom, when you're done.
Submitting your sitemap to Google Search Console
Go to https://www.google.com/webmasters/tools
Log in with your Google Account. If you have more than one website, select your website’s property:

On the sidebar select “Sitemaps”:
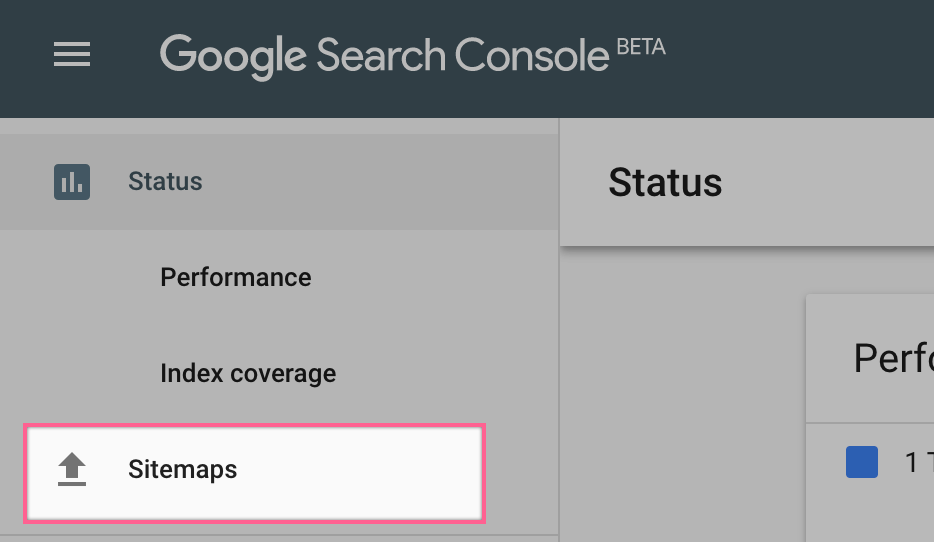
Under “Add a new sitemap” enter the name of the file of your sitemap (If you have followed this SOP and generated the Sitemap manually enter ‘sitemap.xml’, If you have generated the Sitemap through WordPress’s plugin Yoast SEO, enter ‘sitemap_index.xml’) after your domain name, and click “Submit”:

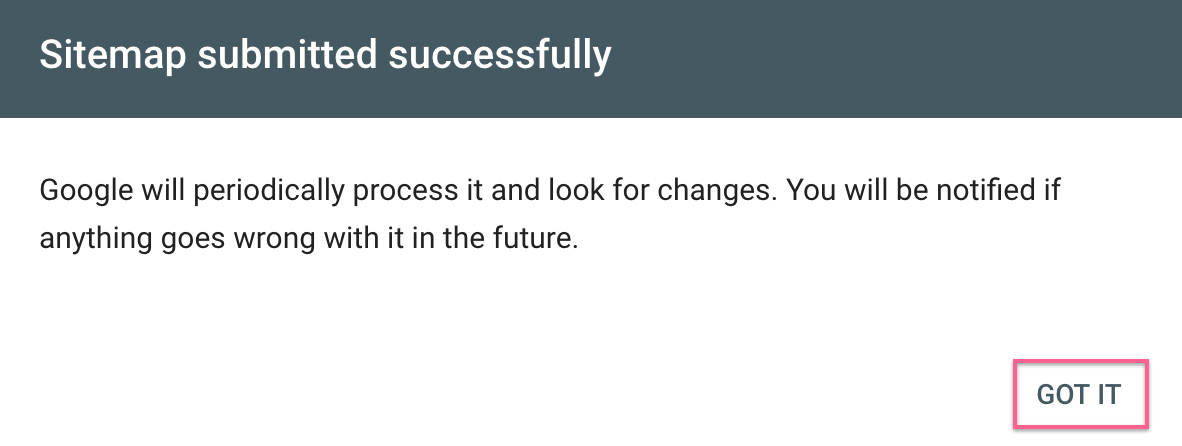
Click “Got It”:
That’s it! If everything went well, you will see your sitemap was successfully fetched by Google. Google will return to your sitemap, automatically, usually once a day, to check in on these URLs.

You did it! Congratulations!